
DIY: Pine Cone Garland
DIY: Pine Cone Garland
This pine cone garland is the perfect option for seasonal décor that can stay up through all the cold months. It isn’t tied to any specific holiday and could look great just about anywhere; your mantle, door frame, or staircase– just to name a few ideas! This project only requires a few supplies, all of which I picked up at our local store with the exception of the pine cones I’ve been collecting.
Here is what you will need:
- Pine Cones
- Eye Screws
- Spray Paint
- Jute Twine
First
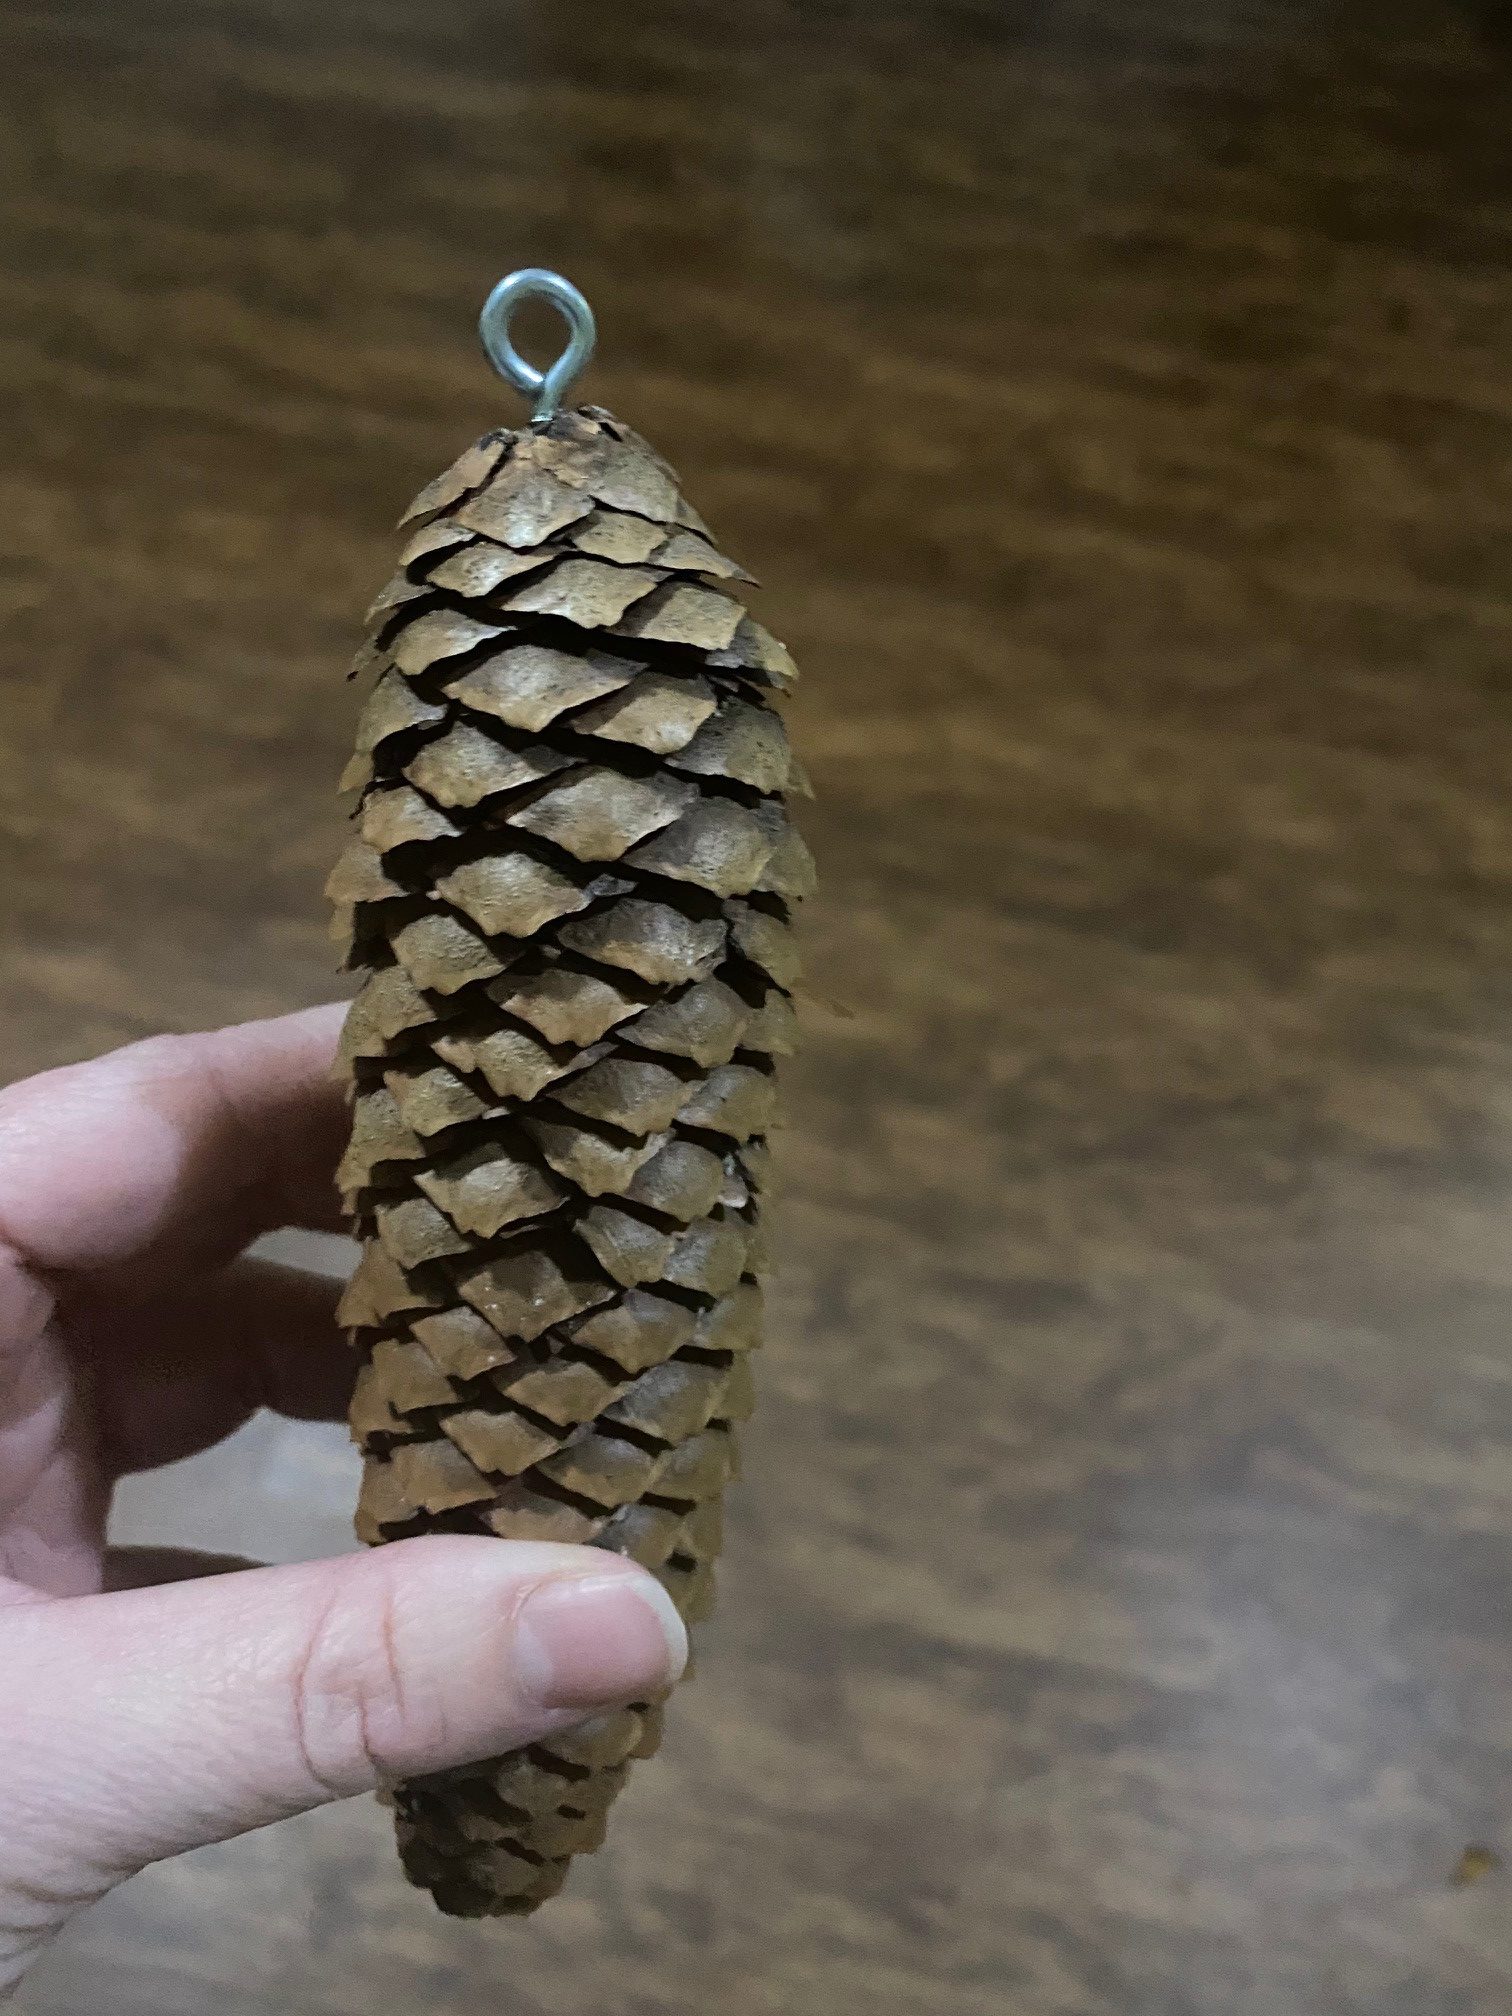
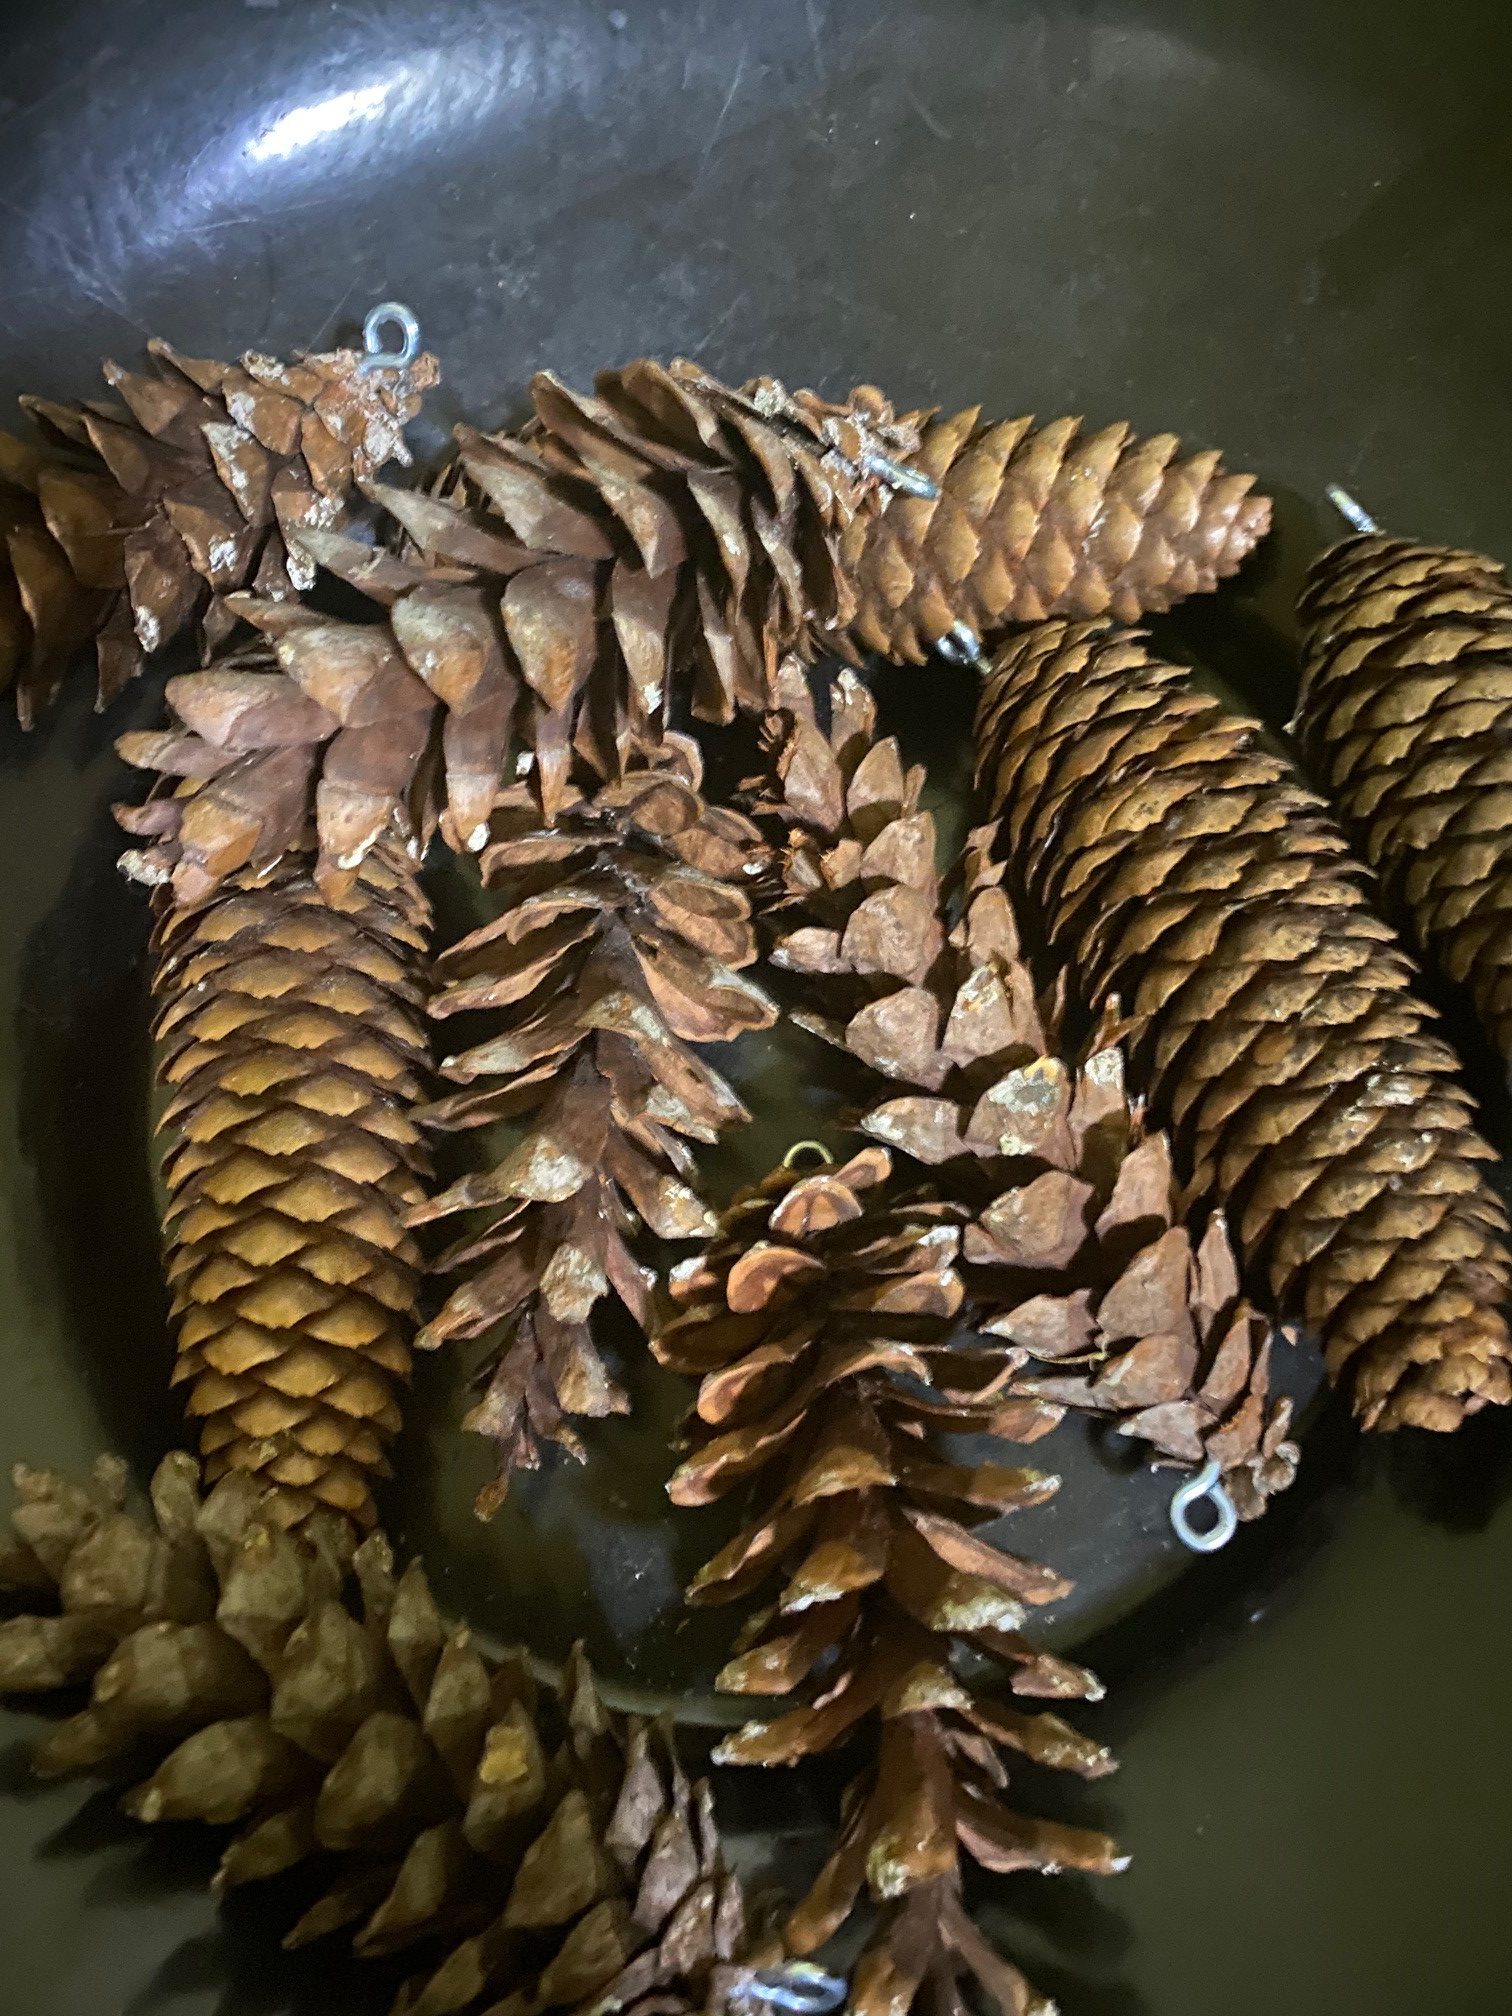
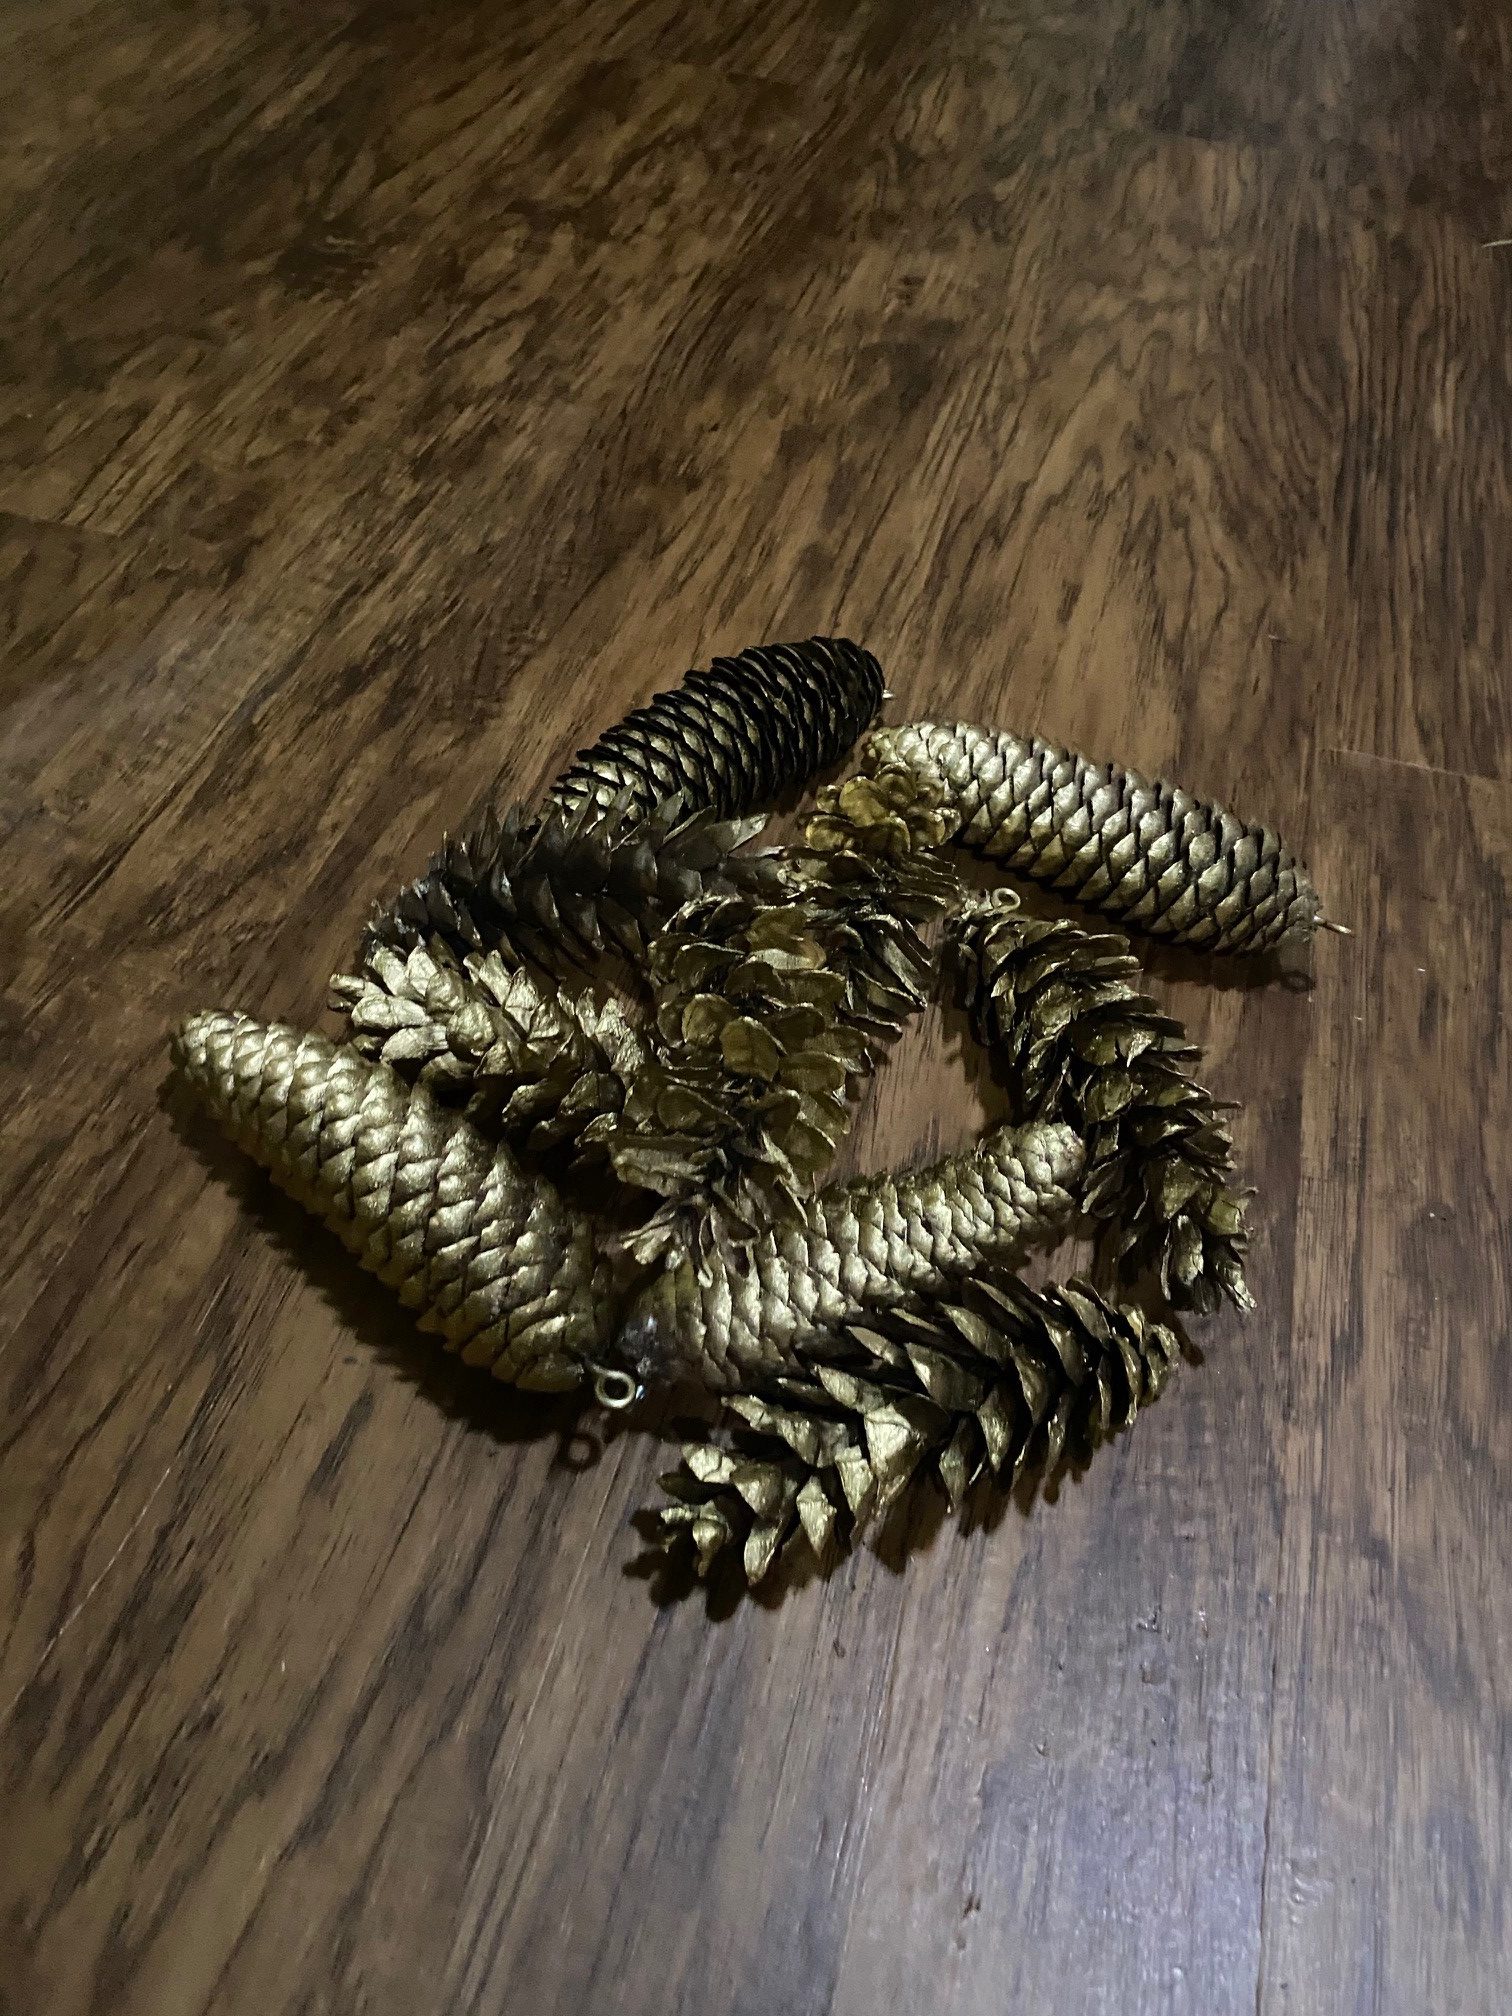
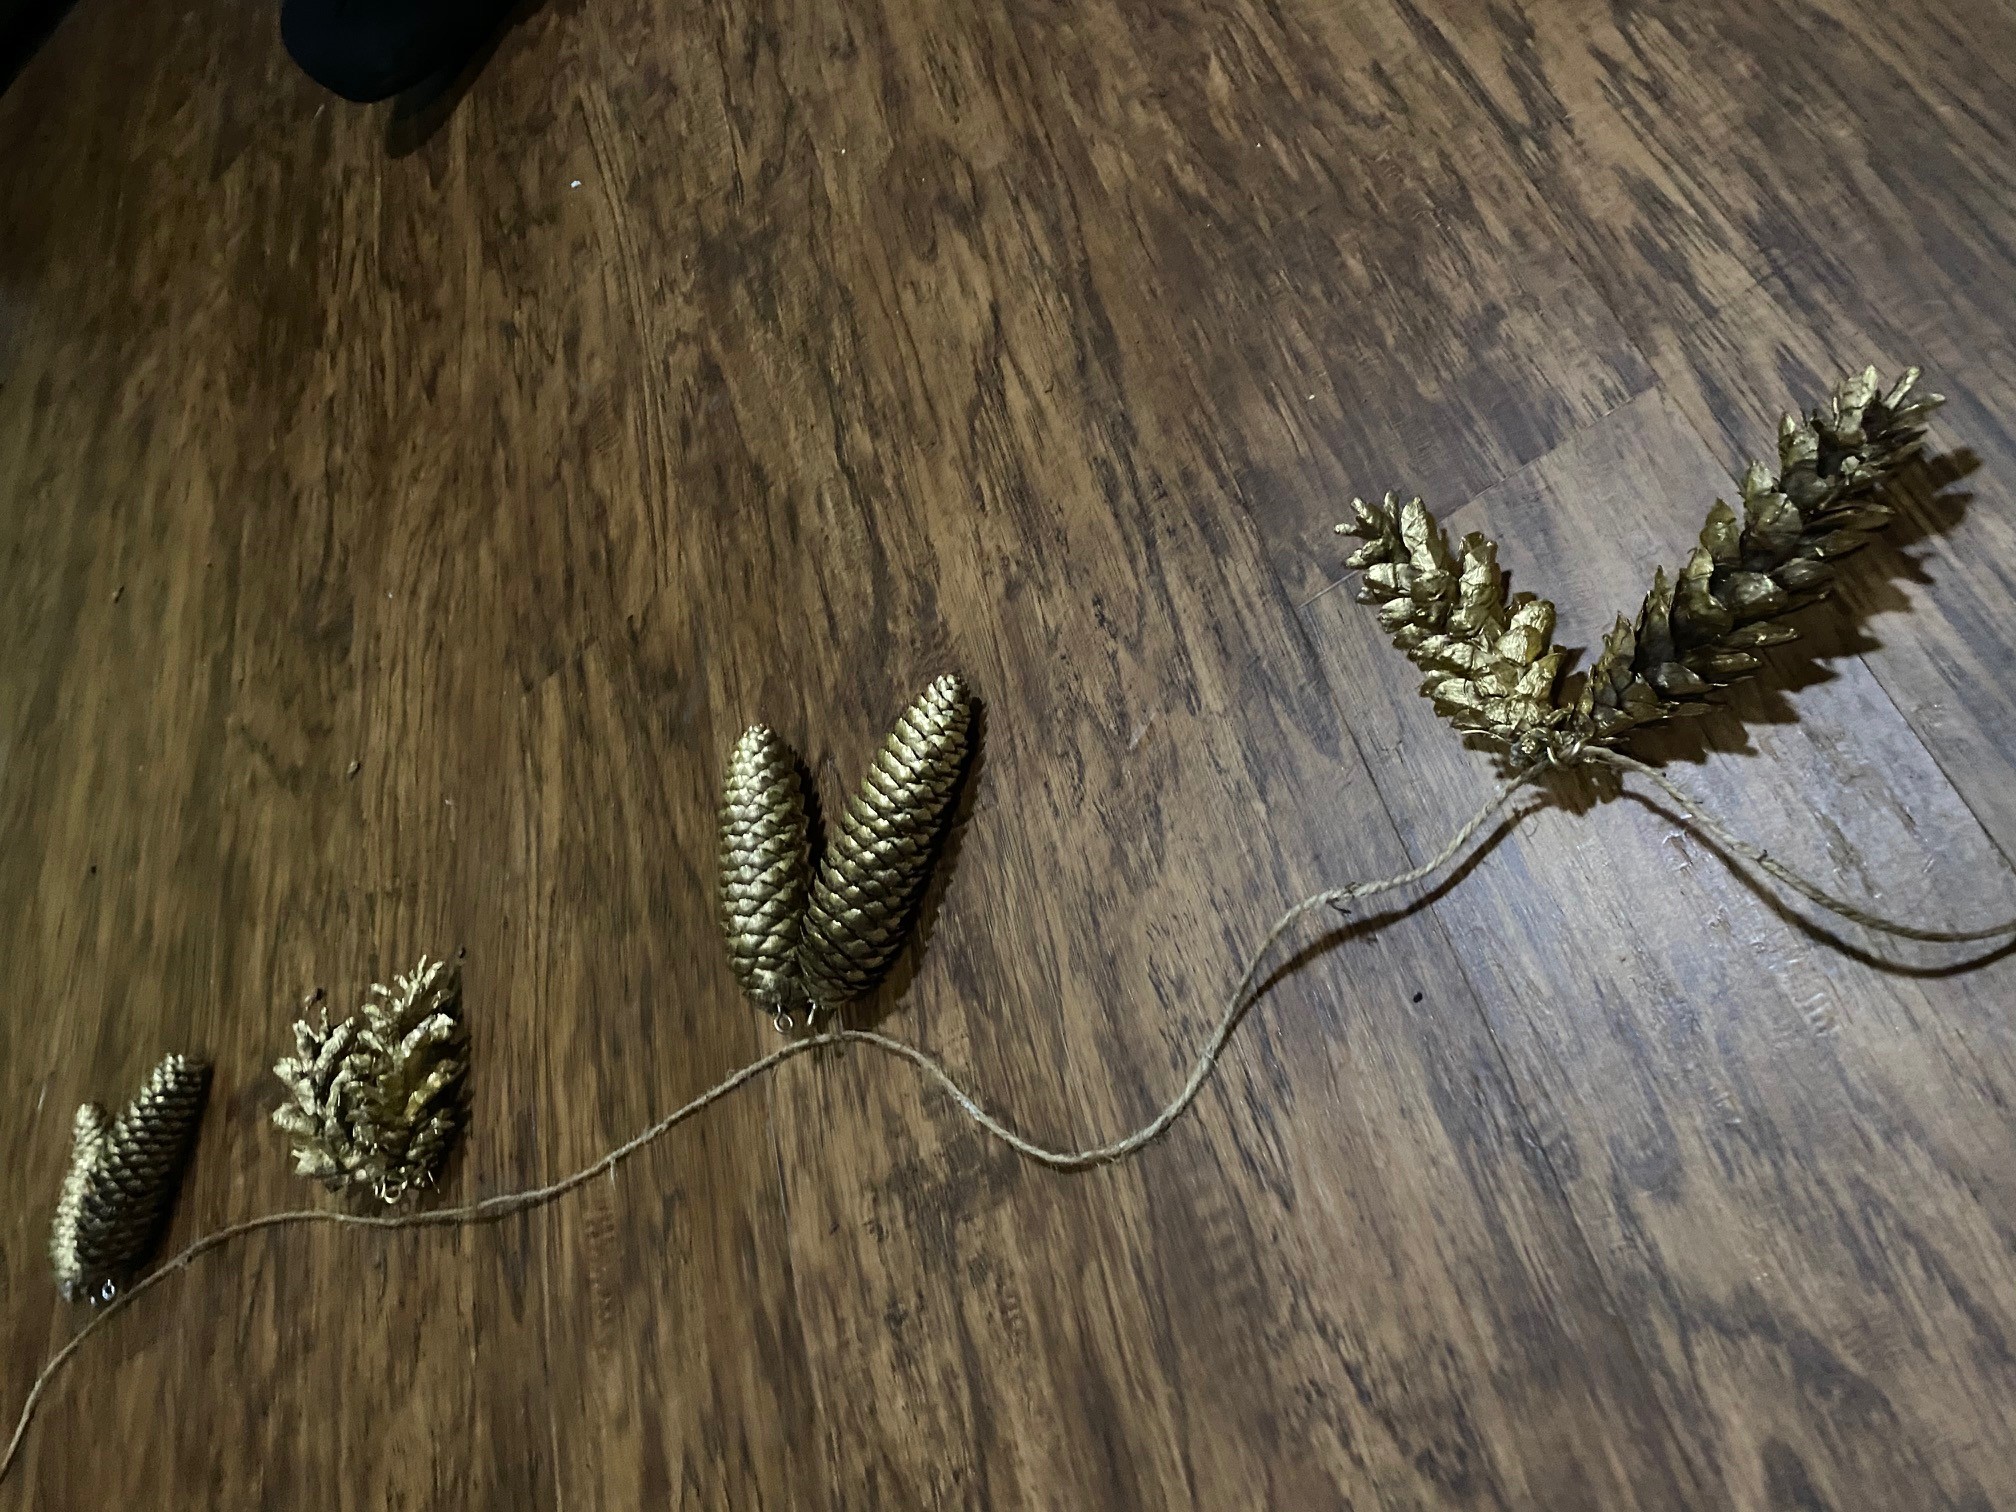
The first step is to add the hook to your pine cone. I just screwed the eye hook into the top of the pine cone with my fingers. If you run into trouble you could always use a pair of pliers to hold the screw as you drive it into the top of the pine cone, see below. Once you have the hook added to each pine cone, you’ll paint the pine cones using your spray paint color of choice. I painted ours in the driveway on some old news papers. As far as color choice goes, I went with gold. I am thinking now that it would have been fun to add a pop of color– maybe a bright pink and white? But no matter what color you choose, it shouldn’t take a long time to dry. It only took about 25 minutes for my gold pine cones to fully dry.
Second
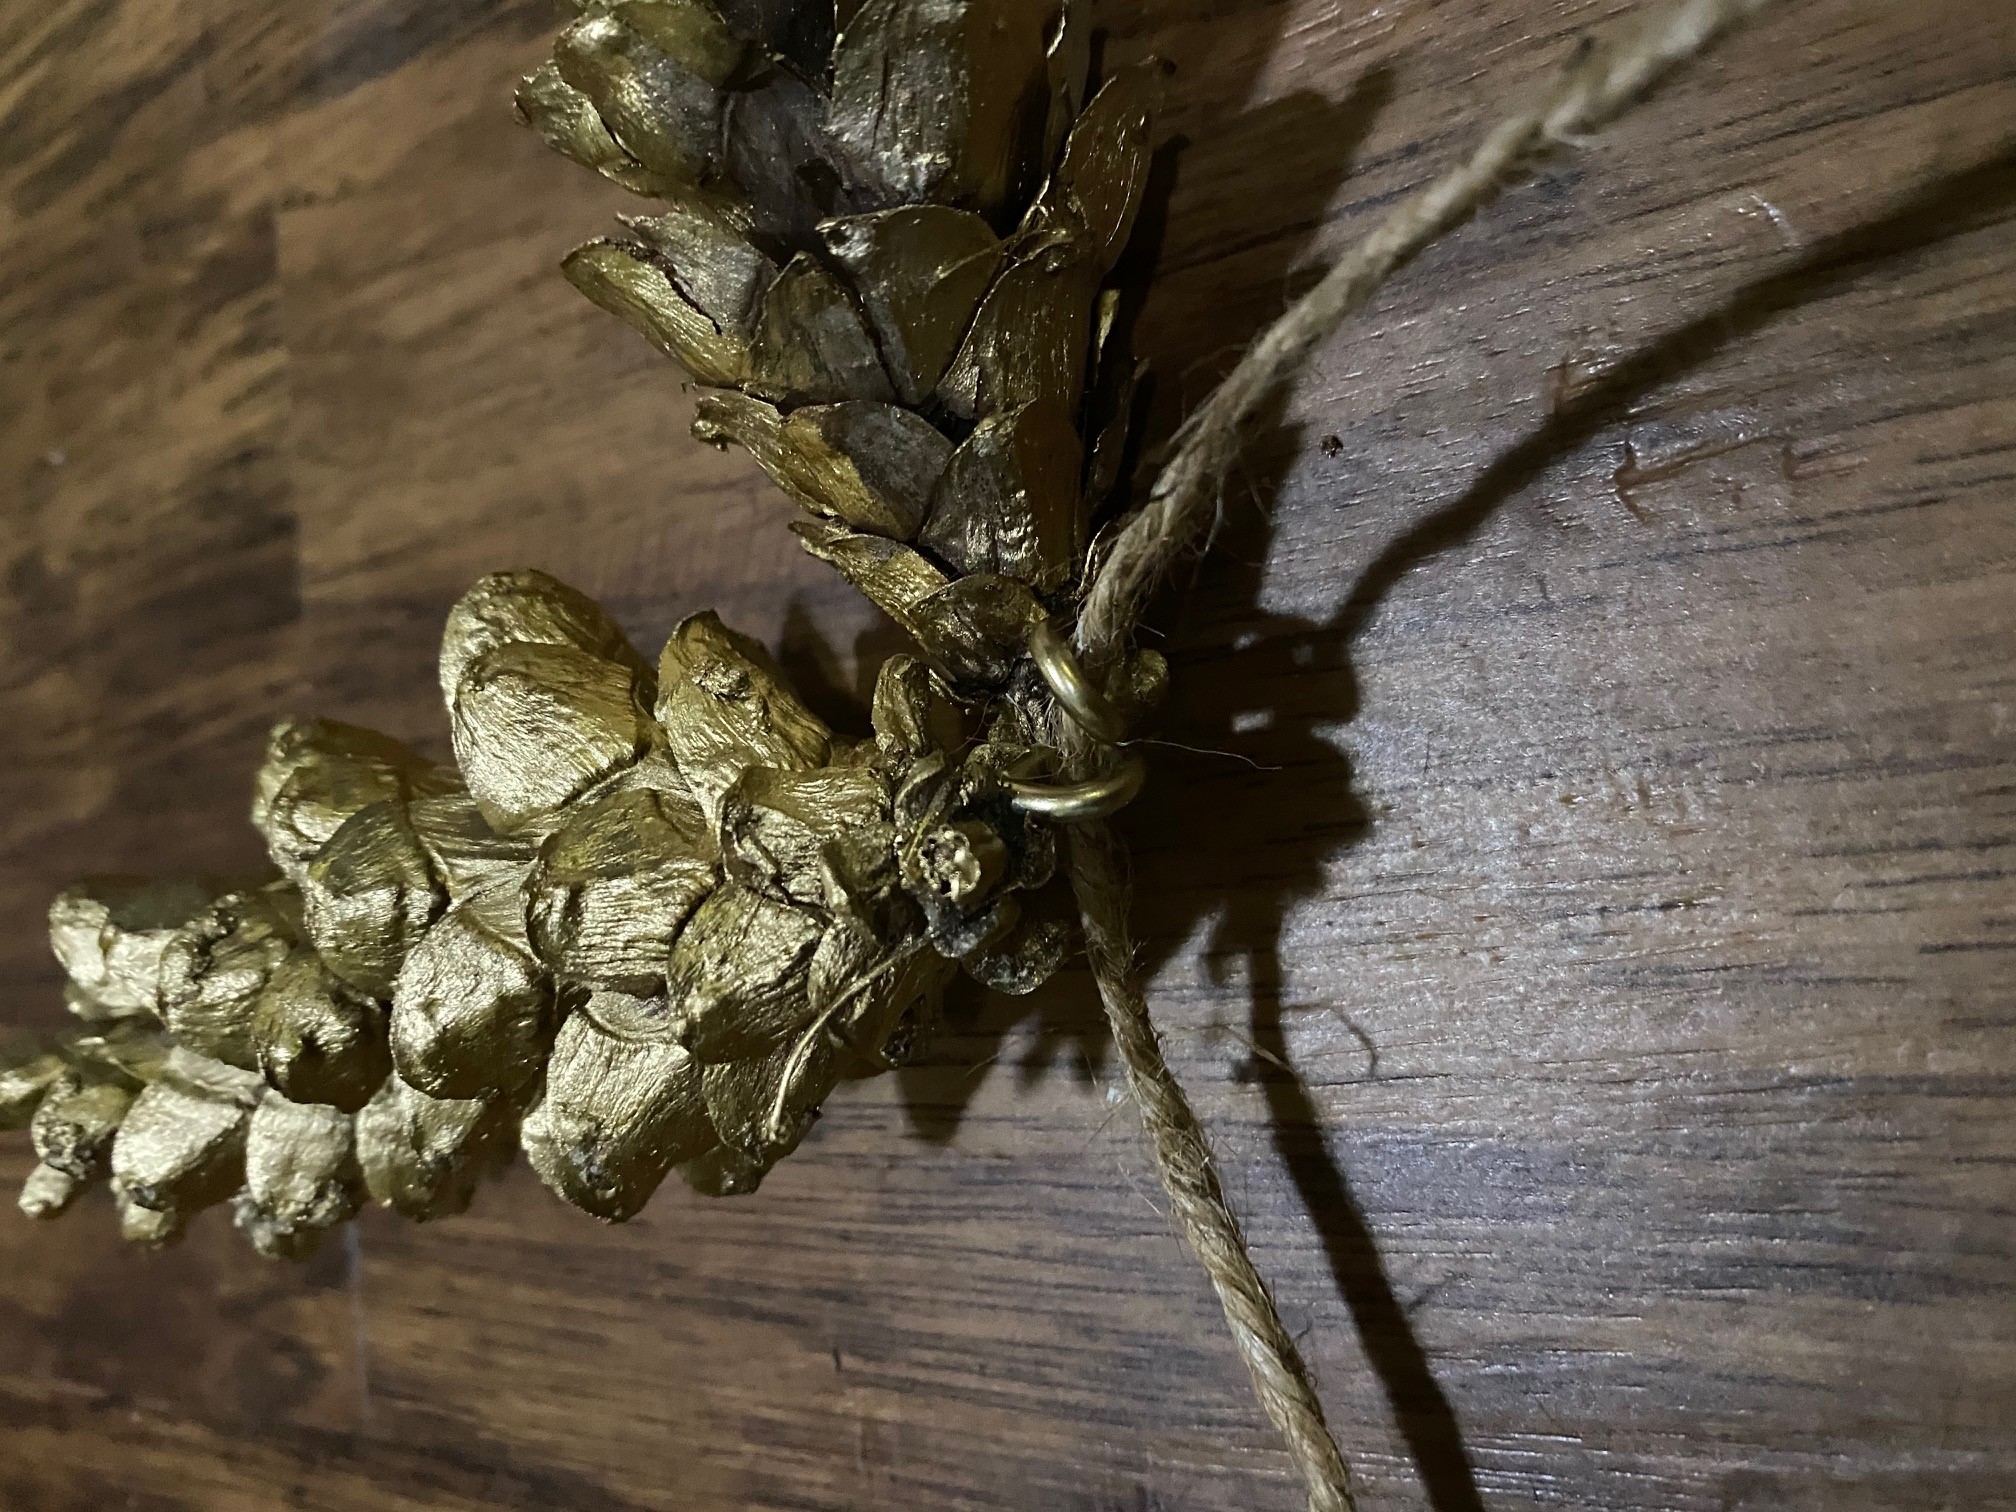
Once your pine cones are dry, you will want to “string them up”. To do this, thread the twine through the eye of hook attached to your first pine cone and tie a knot in it. Keep in mind you will need to leave extra twine on each end in order to hang it. As you can see in the pictures below, I doubled up on my pinecones since the entertainment center where I was going to display my garland is so short. So in my case, I threaded the twine through two pine cone hooks before tying my knot. Then I measured 5 inches and added the second set of pine cones.
Last
Once your pinecones are tied to the twine, all that is left is to hang it! I used small push pins to hold ours to underside of our entertainment center in the basement but am considering adding small hooks for a permanent garland installation in our basement. It was such an easy project and brought some life to our basement. If you liked this one, be on the look out for a spring garland idea! After about 35 minutes, here is our finished product: